

Wallpaper
Murals
Flooring
Collaborations
Learn
Trade Partners
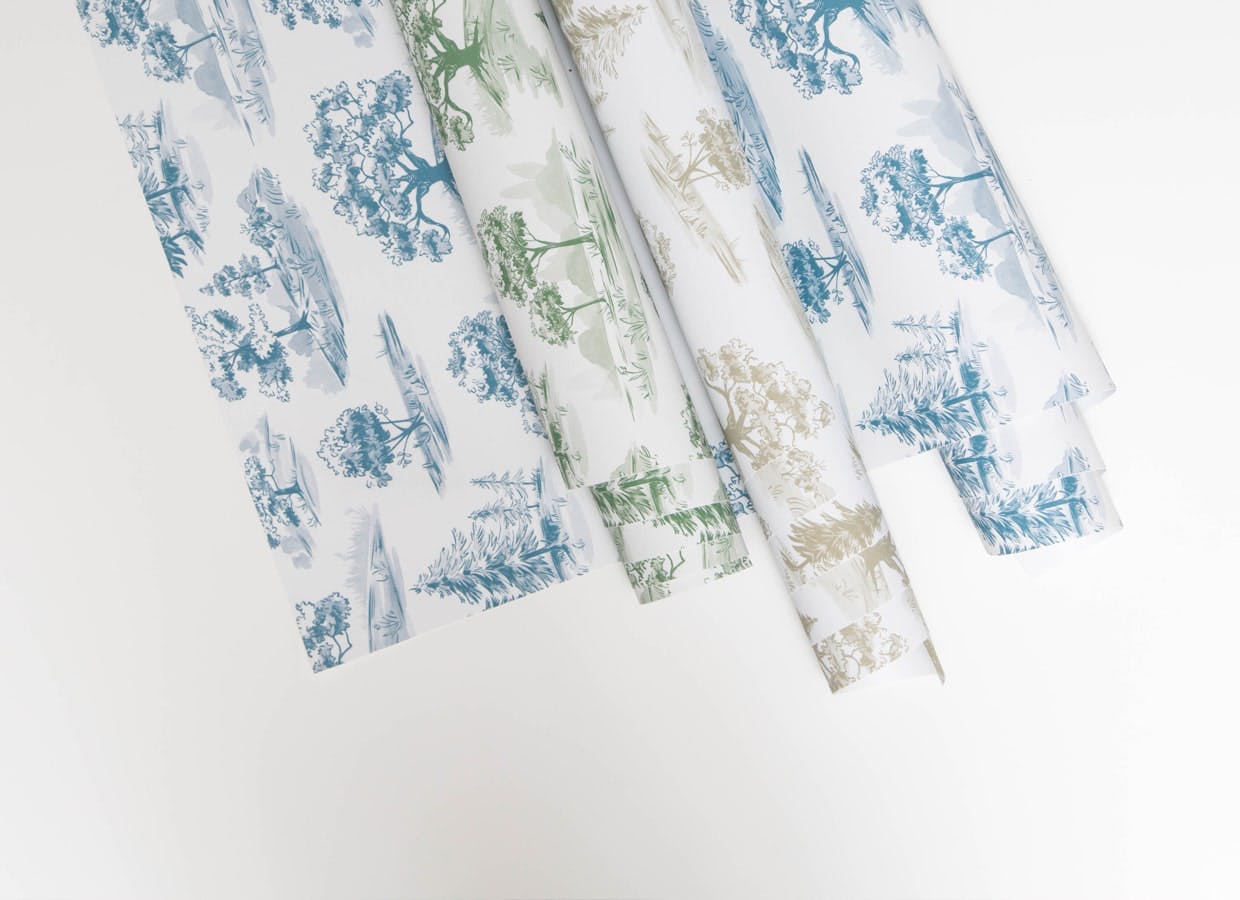
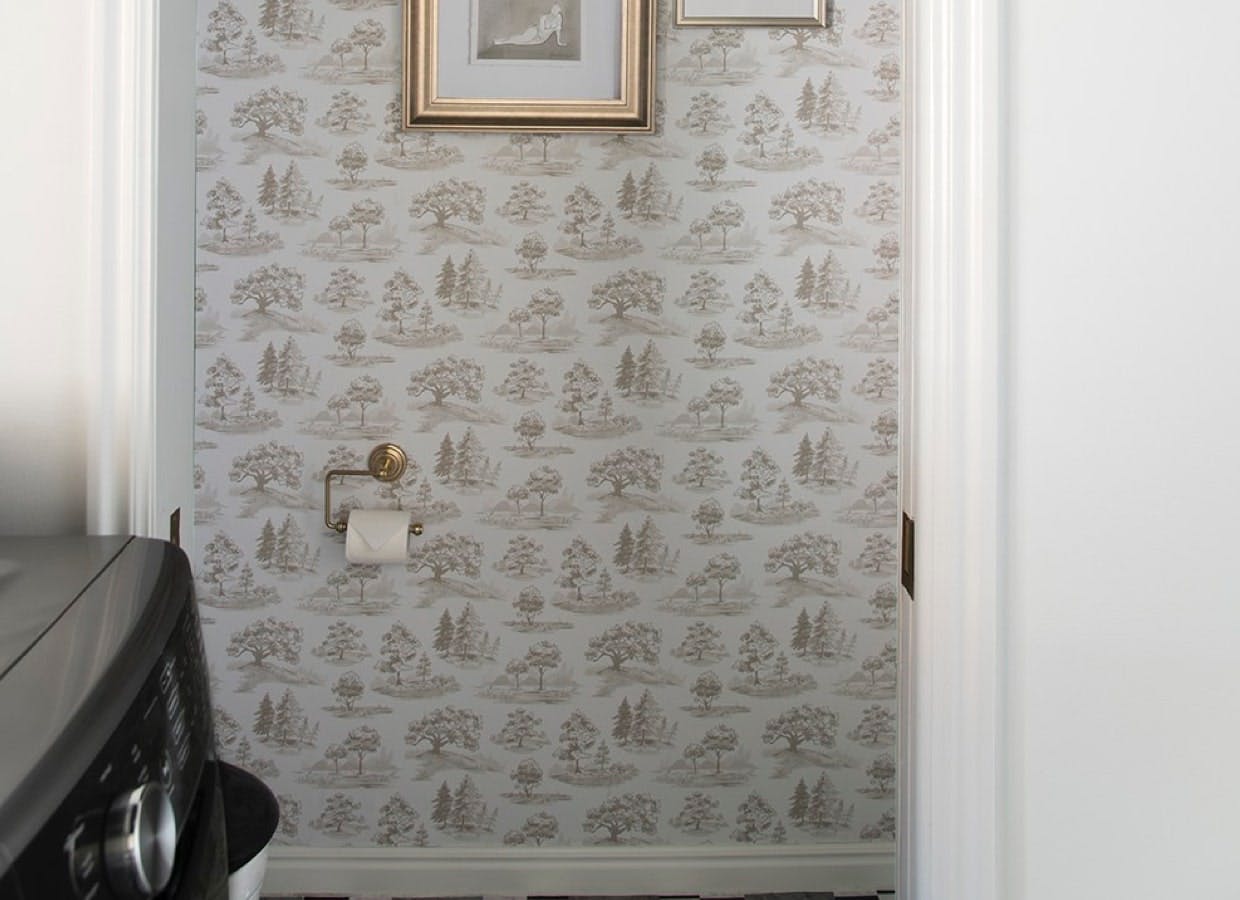
Chasing Paper is best known for its high-quality peel and stick wallpaper. We are committed to making installation accessible and fun. Suddenly small projects are affordable and large projects are stress-free!
Please double check that you have what you need for your project + overage just in case. We print digitally, so colors will vary batch to batch, so please ensure you have the right amount before peeling/sticking/loving!
Use our Footage Calculator to help determine the correct amount.
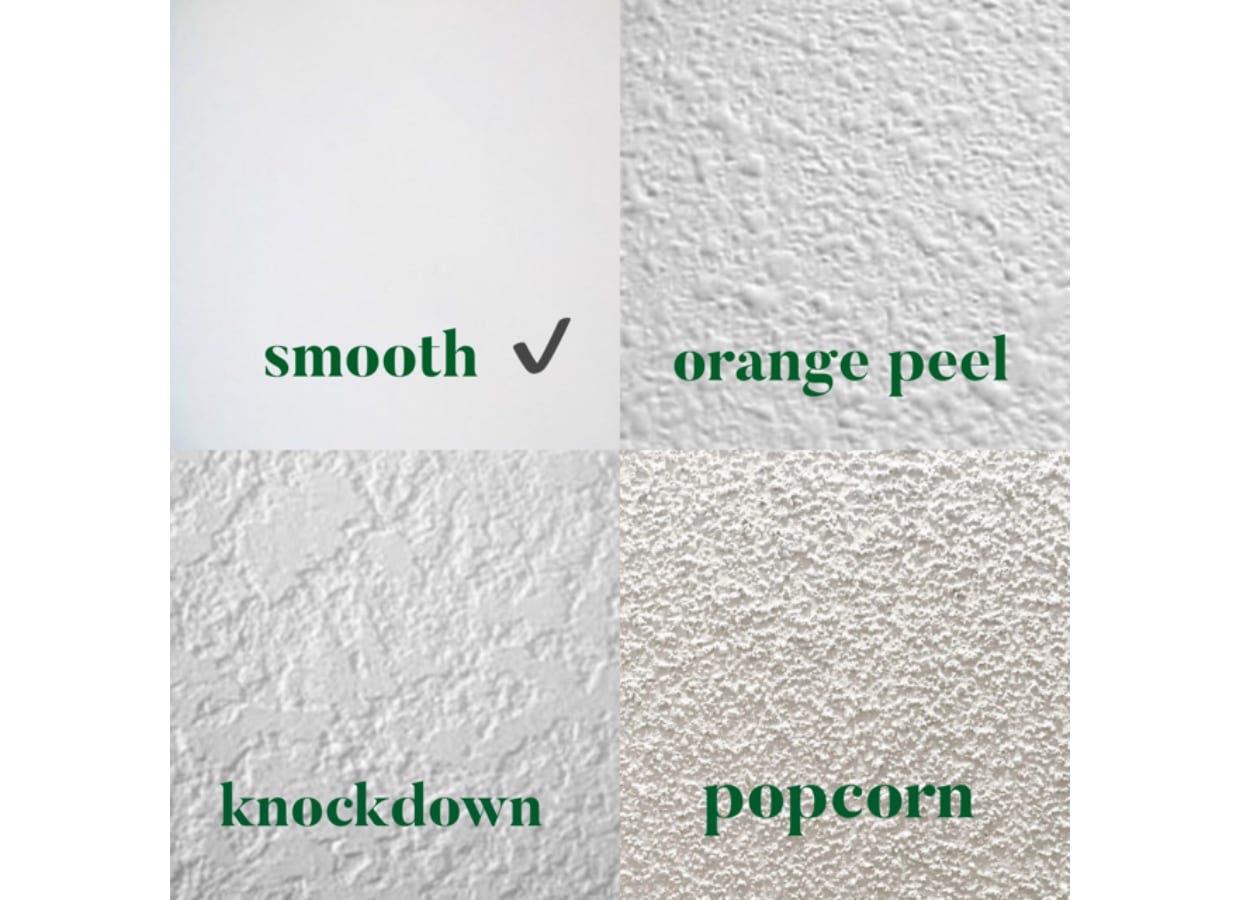
Using a damp cloth, clean the surface and allow to dry fully. This is also an opportunity to be honest with yourself: is this a smooth surface? Sorry love, orange peel, knockdown or a bumpy wall won't give you the best results! Have you made sure your walls are painted with eggshell, semi-gloss or satin? Also, have you given your walls 4-6 weeks to fully cure if freshly painted?
Not sure your wall is smooth? Shoot us a picture at hello@chasingpaper.com.
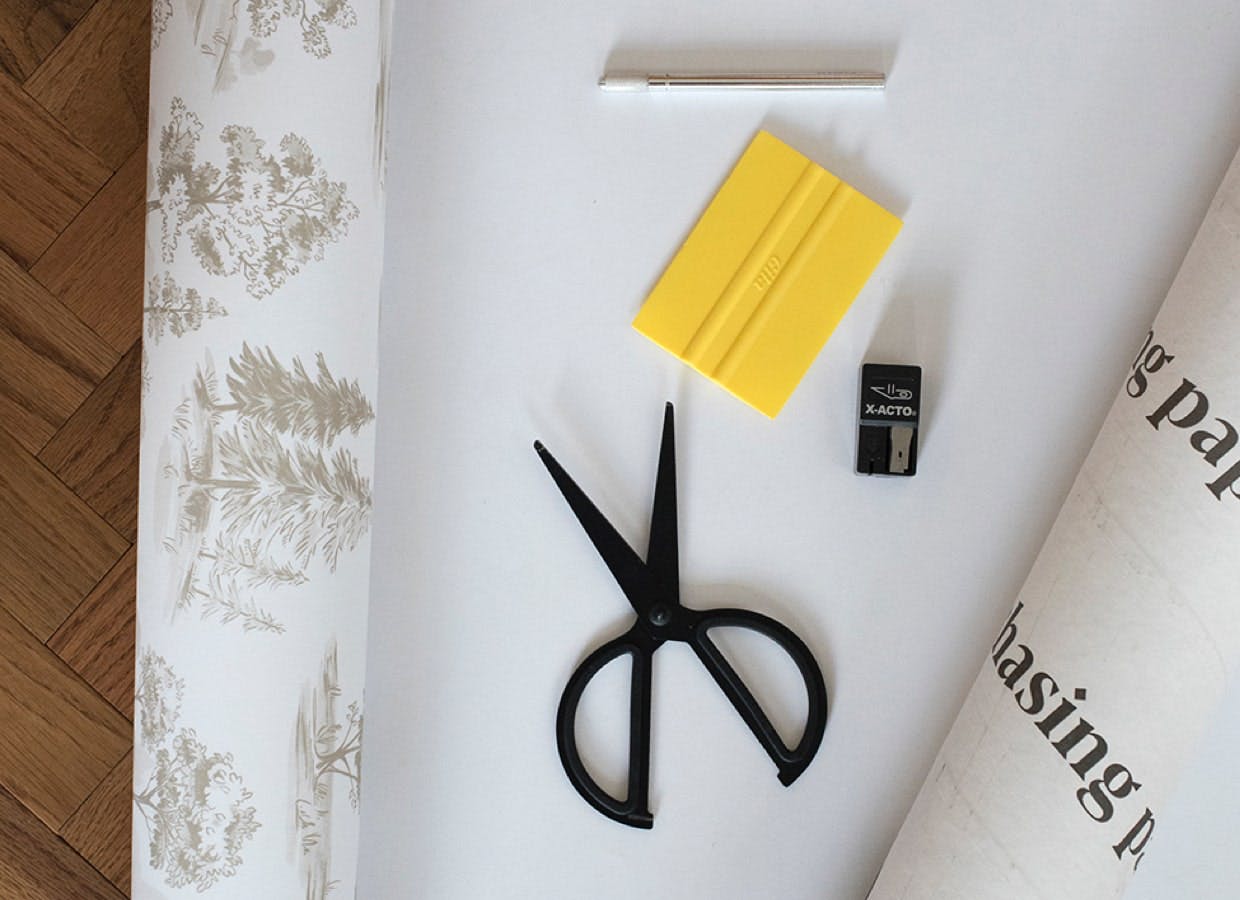
You will need an X-acto knife + scissors - a tape measure and level are helpful too!
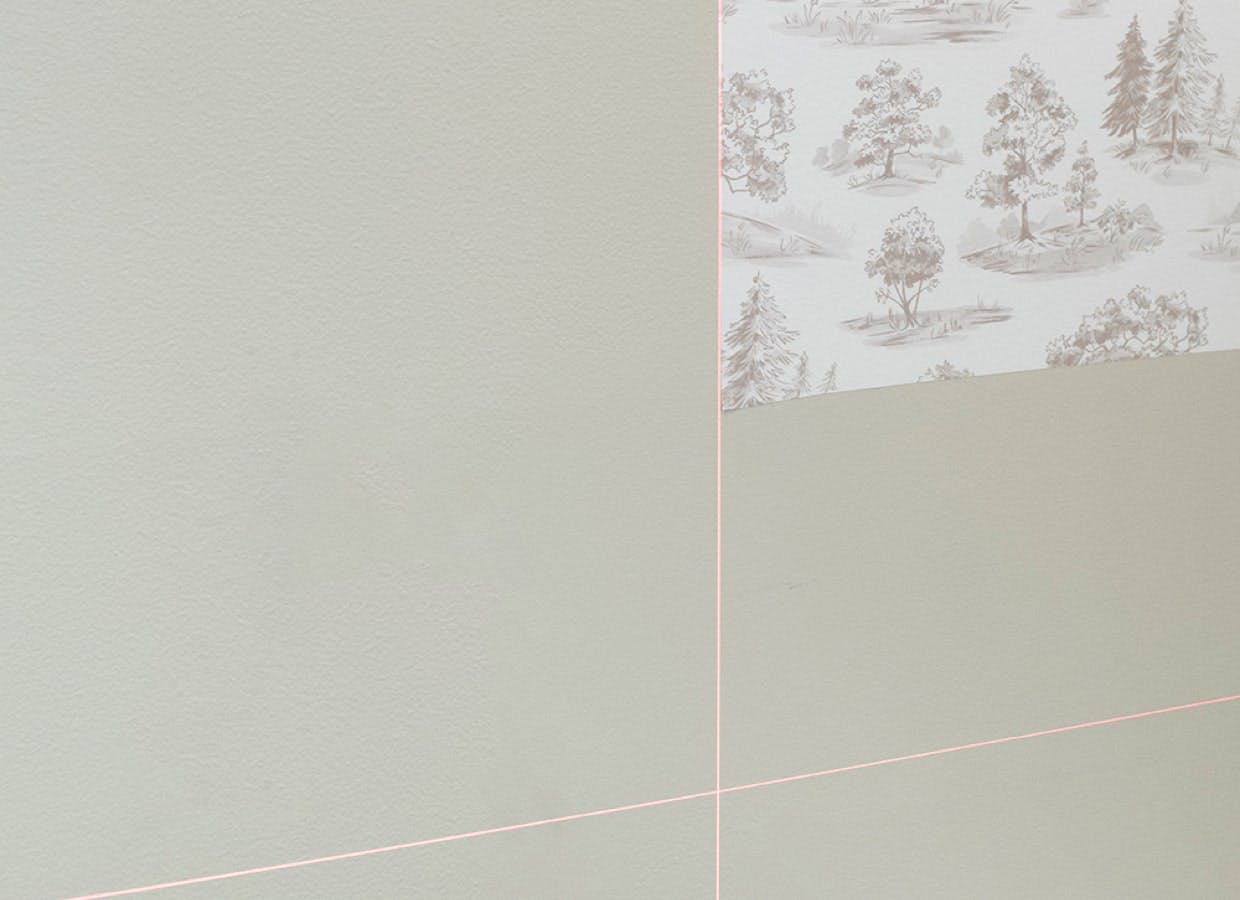
It's helpful to have a guide so either start in a corner or create a plumb line.
If you are thinking about a geometric or striped wallpaper pattern a plumb line is key!
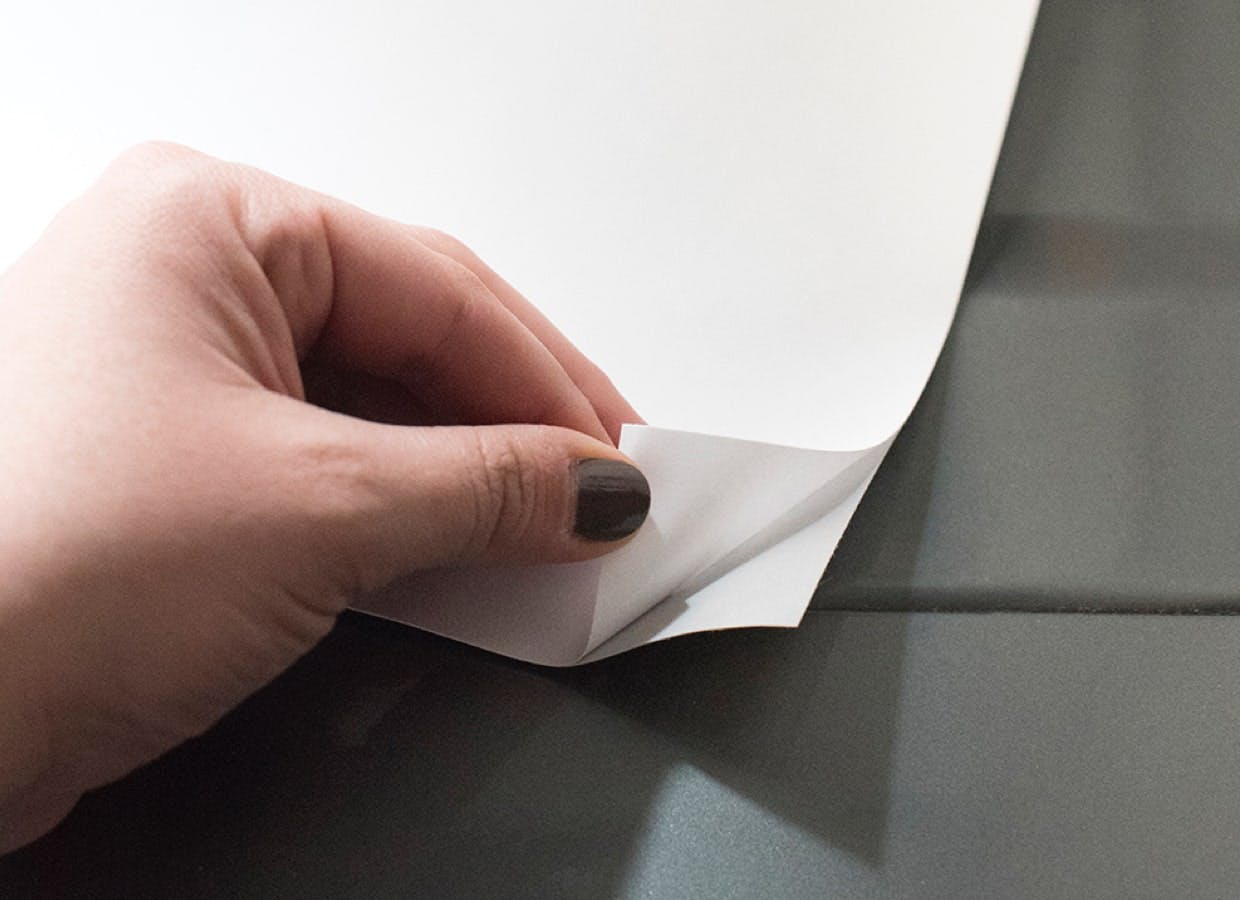
Peel the paper from the backing about 6”-8” at a time - smoothing with your hand as you go.
We suggest smoothing from the from the center of the panel out to the edges. And make sure your panels are not overlapping, but instead are placed seam-to-seam.
Use an X-acto knife to trim off any excess paper.
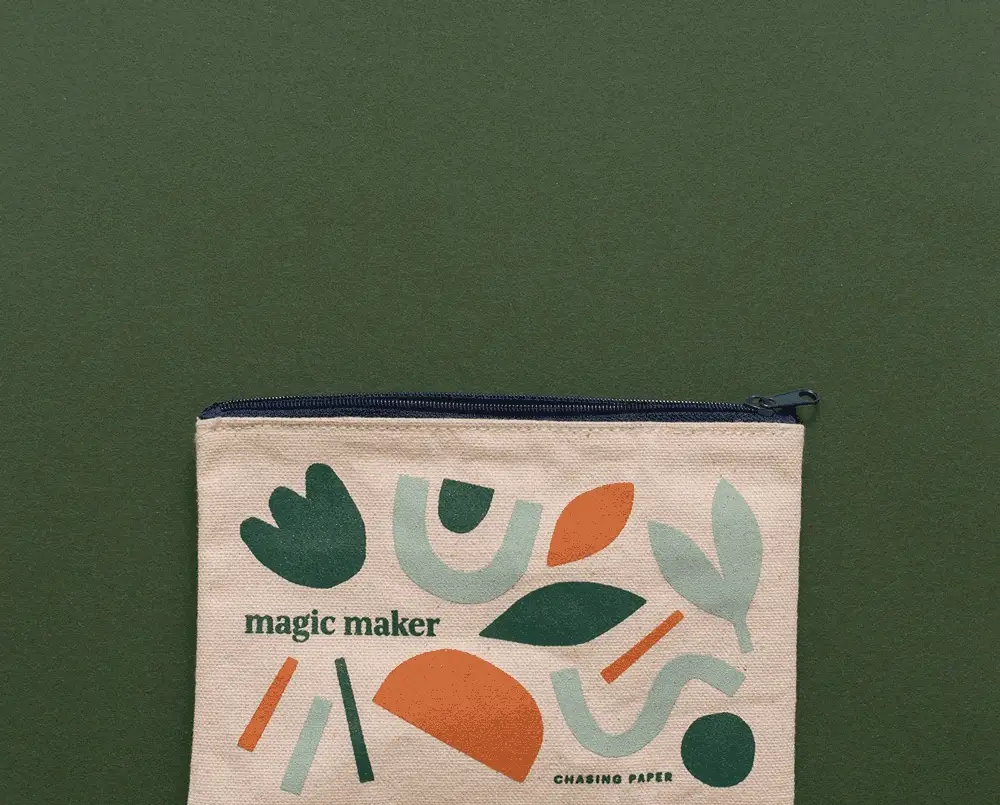
Peel. Stick. Love. made easy with our Chasing Paper installation kit. Kit includes (1) pencil, (1) Xacto Knife, (1) Wallpaper Smoother and comes in a custom Chasing Paper pouch. This kit was created to help with installation of our peel and stick products only. For traditional wallpaper, we recommend professional installation.
Ready to commit? Amazing. Our recommendation is to hire a professional installer, but if you’re feeling bold, here’s a guide to help get you started.
Hanging surface must be smooth, undamaged, and free of dirt and moisture. Properly prime surface with suitable product.
Fill any holes and sand down any bumps. Remove electrical coverings.
To adhere the paper, apply paste to wall with roller. For best results use a soft bristle brush working from the center of the panel out and smooth product on the wall.
Clean any paste from the wallpaper surface with a soft damp sponge. Apply paste for the next panel.
To apply the paper, line up panels at eye level and smooth from center out. Using a proper primer and ample paste will allow wallpaper to slide into alignment with the previous panel.
Our Peel and Stick Flooring is made from high quality, self-adhesive vinyl finished with a laminate overlay for durability and is meant for easy DIY installation.
Please double check that you have what you need for your project + overage just in case. We print digitally, so colors will vary batch to batch, so please ensure you have the right amount before peeling/sticking/loving!
Lay your tiles flat for 24 hours.
Clean your surface!
Your floors need to be clean, dry and dust free! Sweep and vacuum flooring before mopping with a mild cleaning solution and allowing to dry completely.
Backsplashes also need to be wiped down and completely. Using a damp cloth and mild soap solution, wipe down the entire surface to remove any debris or dust and allow it to dry completely
You will need a broom, vacuum and mop for flooring or damp cloth for backsplash, a utility knife or razor blade for trimming and felt discs to protect tile from furniture.
Before getting started, carefully access your space to determine the best place to start. If you are using a 24”x48” panel you will want to start in a corner and if you are using a 12”x12” tile you will want to place over existing tile.
Start by peeling 2-3 inches of the backing away from the tile and placing it down. Continue to remove the backing slowly. Using your hand or a squeegee, smooth the tile onto the floor from the middle to the edges.
If you are using 24”x48 panels line up your next panel directly against the first (butt seam) Move through your space from center to edges and continue on until your project is complete! If you are using our 12”x12” tiles you can opt to leave the grout lines or cover them!
When the tile meets the edge of your space, work the tile into the edge by using a straight edge to tighten it against your edge. Then, come back with a sharp razor blade to trim any excess.
Our recommendation is generally based on the size of your space and your willingness to do a DIY project or hire a professional installer. If you plan on hiring an installer and plan on having your wallpaper up for more than a few years, we suggest Traditional wallpaper.Both substrates work best on a smooth surface.
The number of panels you’ll need will depend on the size of the panels you’re looking to purchase. We have a very helpful footage calculator set up on each product page to help with this. If you’re still unsure, please email hello@chasingpaper.com for help calculating.
Chasing Paper uses a low-tack adhesive that will keep the wall you install it on looking fresh! For best results we suggest adhering to walls with premium eggshell, satin or semi-gloss paint. Matte finishes can be a bit trickier as the adhesive can bond and pull the paint. Also! Little known trivia fact! Paint can take up to 4 weeks to fully cure, so keep that in mind before wallpapering....because you know, science.


